How to insert an image into a document
1. Create an InDesign document :
File > New > Document.
2. Create a frame :
Your exact interface will depend on how you've set up the work space but again, since we're talking through beginner processes we'll assume you're using the defaults. In any case, we'll only be using the basic Tools palette, so if you can't see it any point, go to Window, then scroll down and tick Tools.

The cursor will now change into a cross. Click and drag across the document to place the rectangle at the size you want. You can change the dimensions afterwards by clicking on the black arrowhead tool and clicking and dragging one of the corner squares; or just drag around the whole box.

Place the image
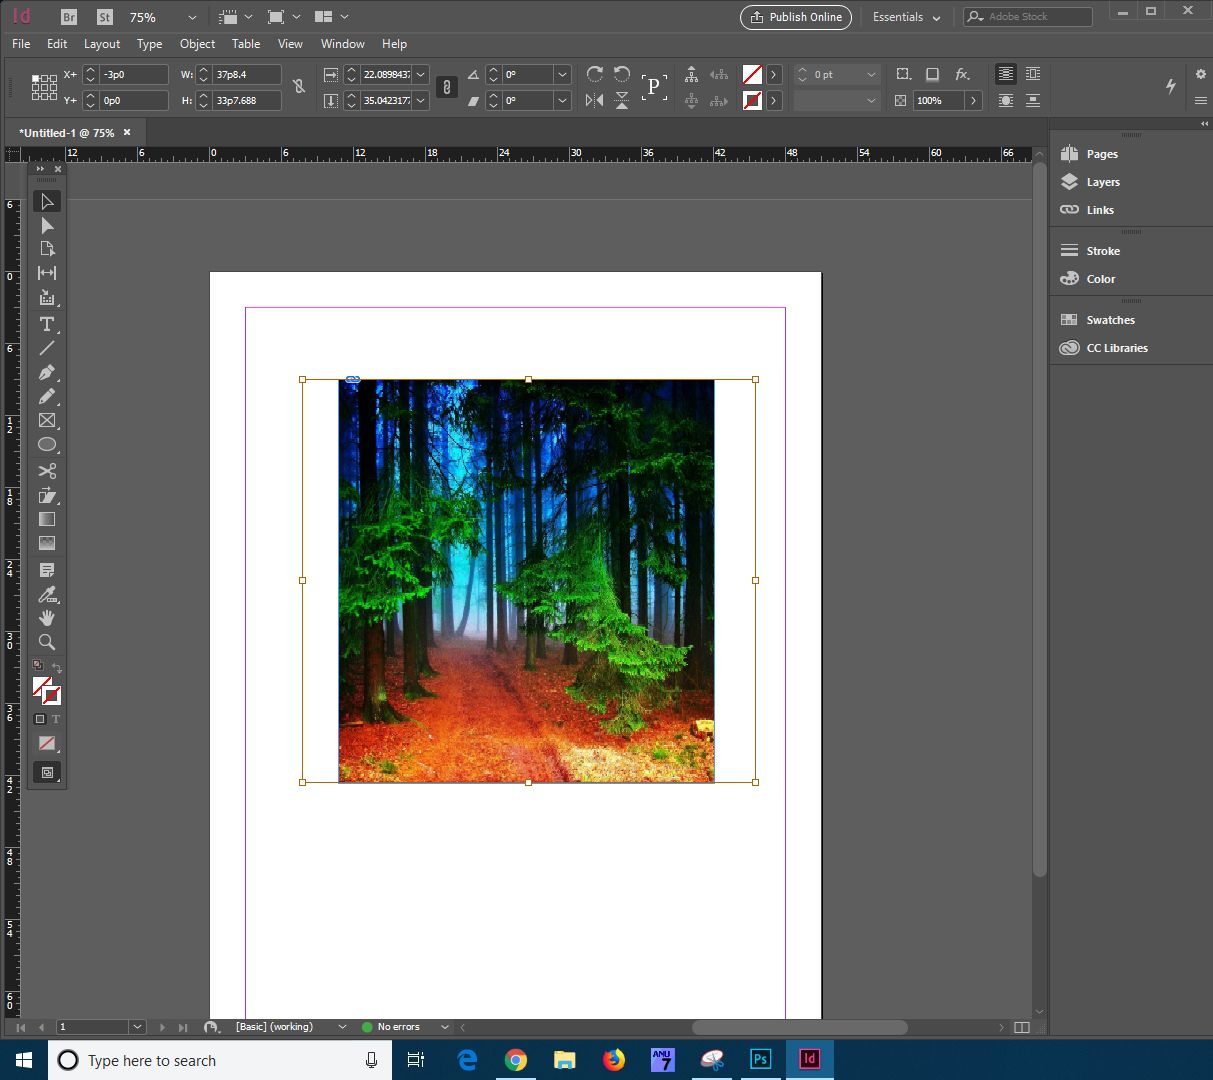
Now select the white arrowhead tool, and click the image frame. Now go to File > Place… InDesign now asks you to select the image you want to place. Locate it on your desktop or in the folder where it's stored and click Open. The image will appear in the frame.


Position, resize and crop the image
The image will appear at 100 percent so it might be far too big for the frame. (It also might be too small, in which case you should probably find a new image - blowing it up significantly above 100 percent is likely to compromise the visual quality, so avoid this if the document will be printed or shown off in other ways).
The easiest way to fit the image to the document is by using the Fitting options. Select the black arrowhead tool and click the image in its frame. Now select Object > Fitting and then either Fill Frame Proportionally (which fills the frame with image, but will leave some of the image invisible outside the frame if they're not the same shape) or Fit Content Proportionally (which will fit the entire image inside the frame, but will leave some frame unfilled if they're not the same shape).
Once again, you'll quickly get the hang of using keyboard shortcuts instead. For Fit Content Proportionally, the option we use most often, it's Shift-Alt-Ctrl-E . The same buttons with C instead of E will invoke Fill Frame Proportionally.
For finer control, select the contents of the frame with the black arrowhead (the white arrowhead will select the frame itself) and then move the image around inside the frame with the mouse or the arrow keys for very fine (but slow) control. You can change the scale (effectively the magnification) in the top bar, where you'll see two '100%' numbers on top of each other. One is the vertical scale and the other is horizontal, but by default they're linked, so if you change the top figure to 99% the overall scale will drop to 99 percent and the image will appear smaller on the page.
All Multimedia Stuff: Indesign Tutorial: How To Insert An Image Into A Document >>>>> Download Now
ReplyDelete>>>>> Download Full
All Multimedia Stuff: Indesign Tutorial: How To Insert An Image Into A Document >>>>> Download LINK
>>>>> Download Now
All Multimedia Stuff: Indesign Tutorial: How To Insert An Image Into A Document >>>>> Download Full
>>>>> Download LINK eW